
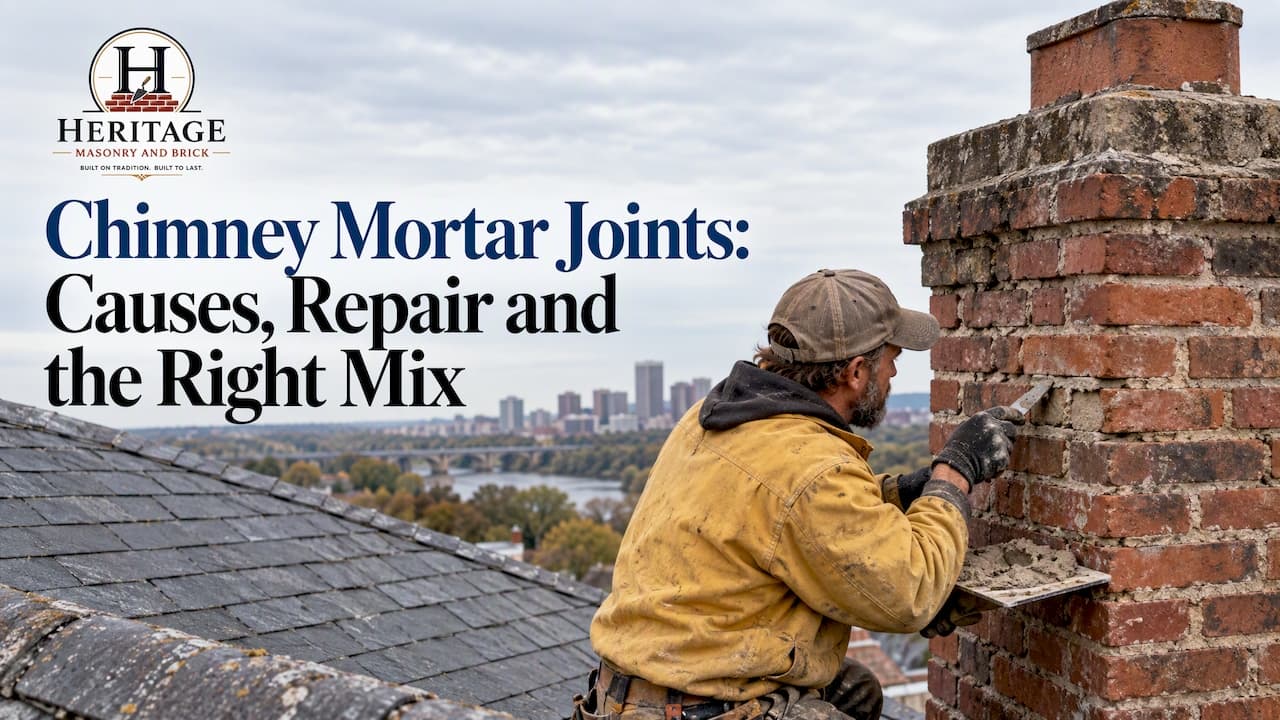
Chimney mortar joints are the thin lines of mortar between each brick, and they are the first part of a chimney to fail. When they crack, crumble or recess, water gets into the brick and the stack starts to break down from the inside. The fix is usually repointing: grinding out the failed mortar to a proper depth and filling the joints with a mortar that matches the brick. On older Richmond, Virginia homes, that mortar should be lime-based, not a hard bagged cement mix.
This guide explains why chimney joints fail, how to read the warning signs, what a correct repair involves and why the mortar mix matters so much for historic brick.
TL;DR
- Chimney mortar wears out long before the brick does. Water, freeze-thaw cycles, movement and poor flashing are the usual causes.
- Hairline cracks, sand-like crumbs, recessed joints, water stains and flaking brick faces are signs the joints need attention. A leaning stack needs a mason right away.
- Repointing means removing old mortar to a proper depth and refilling with mortar that matches the original in strength, color and texture.
- Older brick in Richmond needs a softer, breathable lime mortar. Hard Portland-cement mixes can damage it.
- Fix the cause of the failure, such as a roof or flashing leak, before or alongside the mortar work.
Table of Contents
- Why chimney mortar joints fail first
- Warning signs to look for
- What a proper chimney mortar repair involves
- The mortar matters: lime versus Portland cement
- Brick matters as much as mortar
- When to hire a professional
- Our perspective: why we repoint chimneys the traditional way
- Chimney repair from Heritage Masonry & Brick
- What affects the cost of repointing a chimney
- Protecting your Richmond chimney for the long term
- FAQ
- Sources
Why chimney mortar joints fail first
A chimney is the most exposed masonry on your house. It stands above the roofline and takes rain, wind, sun and frost on every face. Brick can last for generations. The mortar between the bricks is the sacrificial part of the wall, and it is meant to wear before the brick does.
Several things speed that wear up:
- Water and freeze-thaw cycles. Water soaks into the joints, freezes, expands and pushes the mortar apart. The National Park Service lists freeze-thaw cycles, thermal and moisture expansion and contraction, drying shrinkage and foundation settlement among the main causes of cracking in brick masonry.
- Failed caps and flashing. A cracked or debonded mortar cap, or missing or poor roof-to-chimney flashing, lets water penetrate. Separating cracks between the brick and the mortar are suspect points for water entry.
- Movement. Chimneys can shift with settlement of the house or the chimney's own footing, and that movement shows up as stair-step cracks along the joints.
- Heat cycles. Every fire heats and cools the stack, and that expansion and contraction works at weak joints over the years.
- Wrong mortar from an earlier repair. A patch made with mortar harder than the brick is a common reason an old chimney keeps failing, and we cover it below.
Richmond's climate is hard on masonry. Humid summers, wet springs and winters that regularly swing above and below freezing mean joints take in water and shed it again many times a year. Chimneys on older homes in the Fan, the Museum District and along Monument Avenue have often been through well over a century of that.
Warning signs to look for
You can check a lot from the ground, with binoculars if you have them. Look for:
- Cracks in the joints, especially stair-step cracks that follow the mortar lines.
- Crumbling or sandy mortar, including crumbs collecting on the roof, in the gutters or at the base of the stack.
- Recessed joints where you can see a deep gap between the bricks.
- Spalling brick, where the face of the brick flakes or pops off.
- Water stains or creosote stains on the chimney or on the wall and ceiling around it inside. Water stains, creosote stains, spalling or visible movement are all cited as signs of chimney damage.
- Lean or movement. If the stack looks out of plumb or has pulled away from the house, treat it as urgent. Our page on leaning chimney repair explains what a mason looks at.
A historic home guide for owners uses a simple inspection checklist question: is the brick or mortar cracked, crumbling or missing? If the answer is yes anywhere on the chimney, schedule an inspection.
Serious cracks can also create safety risks. Cracked flue liners and open joints can let heat and combustion gases reach places they shouldn't. The U.S. Fire Administration advises having your chimney inspected and cleaned each year by a professional. It also reports an estimated 54,500 residential building heating fires a year in its 2005 to 2007 data, which is why heating equipment upkeep matters.
What a proper chimney mortar repair involves
Repairing chimney mortar joints is called repointing, or tuckpointing in everyday speech. Our guide on what tuckpointing means covers the vocabulary. The steps matter more than the name.
1. Find and fix the cause
The National Park Service is clear that the root cause of mortar deterioration, such as leaking roofs or gutters, settlement, rising damp or severe exposure, should be dealt with before repointing. New mortar over an active leak will fail again quickly.
On a chimney, that usually means checking the flashing, the cap or crown and the roof around the stack. If the flashing or surrounding roof is leaking, a roofer should address it; this overview of skylight leak repair basics shows how flashing problems let water in around roof penetrations, and the same logic applies at a chimney.
2. Remove the failed mortar to the right depth
The General Services Administration's repointing guidance says to remove mortar to at least 2.5 times the joint height, use hand tools and dampen the joints before repointing. A shallow scrape-and-smear job looks fine for a season and then falls out. Depth is what gives new mortar something to bond to.
Tool choice matters too. Careful tool selection keeps the work from chipping or damaging the brick, and old brick edges are very easy to damage.
3. Clean and dampen the joints
Dust and loose debris are brushed out, and the joints are dampened so the dry brick doesn't pull water out of the fresh mortar too fast. Rapid drying weakens the bond.
4. Pack the new mortar in layers
Mortar goes into the joints in thin layers, packed firmly, then tooled to a profile that matches the original. Vertical joints and horizontal joints are both filled, and the finished joint sheds water rather than holding it.
5. Cure slowly
Lime mortar needs to cure gently, protected from direct sun, wind and hard rain. Mist the joints as the mason directs. Good scheduling matters here, and it is one reason spring and fall are favorite repointing seasons in Richmond.
The mortar matters: lime versus Portland cement
This is the part most homeowners never hear about, and it is the most important part for an older chimney.
Mortar and brick work as a team. Water moves through both and escapes by evaporating. In a traditional wall, the mortar is softer and more porous than the brick, so moisture leaves through the joints, and if anything cracks, it cracks the mortar. You repoint the joint, and the brick stays intact.
Modern bagged mortars are often made with a lot of Portland cement. They set hard and are far less permeable. The National Park Service warns that for historic masonry, replacement mortar should be softer and more vapor-permeable than the masonry units, and that hard Portland-cement mortar can damage soft brick. Its guidance notes that a mortar stronger and less permeable than the brick can cause permanent damage and faster deterioration of the brick instead of the mortar.

The Virginia Department of Historic Resources says much the same in its own guidance: original lime mortars were not hard, mortar should be matched to the original, and premixed bagged mortars are often too hard for historic masonry. The GSA adds that historic repointing mortar should be determined by analysis of the original materials and should not be stronger than the original mortar or the surrounding masonry.
What lime mortar is
Lime mortar is a mix of lime and sand, sometimes with other additions, and it is how masons built before Portland cement took over. It is soft and flexible enough to move slightly with the wall, and it lets moisture pass through. It also tends to heal fine hairline cracks over time, as lime redeposits in the gap.
The sand does a lot of the visual work. Its color, grain size and shape decide whether a repair disappears into the wall or shows as a bright new patch. This is why we match sand as carefully as the lime.
How we think about mortar choice
The goal of a repair is not the hardest joint. It is a joint that is slightly weaker than the brick and breathes like it. Our blog goes deeper on three points:
- Type N vs. Type S mortar and why stronger can harm older brick.
- Historic mortar analysis, which tells you what the original mix was before repointing starts.
- How to match mortar to brick for color, texture and joint profile.
One caution from a forum thread among home inspectors: they advise tooling mortar back slightly from the brick face, since mortar brought flush to the face can trap moisture and encourage freeze-thaw spalling. Joint profile is a judgment call that depends on the brick, so a mason should set it by looking at your wall.
What about newer brick?
A chimney built in the last several decades with hard modern brick can take a stronger mortar. But the rule stays the same: the mortar must be compatible with the brick. Without testing or experience, it is easy to guess wrong. If you don't know your chimney's age or brick type, ask a mason to assess it first.
Brick matters as much as mortar
Richmond has a lot of historic brick: soft, hand-molded or early machine-made units, often laid in lime mortar with fine joints. Older brick was fired at lower temperatures, so it is softer and more porous than modern brick. That is exactly the brick that suffers when it is repointed with a hard mix.
When individual bricks have spalled or cracked, a mason can cut them out and replace them with salvaged or matching brick. Matching is a skill: color, size, texture and absorption all count. Our contractor guide to matching old brick explains how to judge it, and the same logic applies to the brick we use on a chimney.

When to hire a professional
Minor, isolated cracking on a low, easy-to-reach stack is something you can monitor. But chimneys are usually high, steep and awkward to reach, and the repair has consequences. This Old House recommends professional help for complex flashing repairs, extensive water damage, liner work, structural problems such as a leaning chimney, or work at height without the right tools or comfort.
You should also call a mason when:
- The chimney is on a historic home and you don't know what mortar is in the joints.
- Joints are deeply recessed or brick is spalling.
- There are stains inside the house near the chimney.
- The stack leans or has visible gaps at the roofline.
- A past repair has already failed.
The GSA sets a good standard for hiring. It requires experienced historic-masonry contractors, skilled journeymen masons and approved mockups. You can ask for the same: a small test panel of the mortar color and tooling before the full job begins.
Questions to ask any contractor:
- What mortar will you use, and why is it right for my brick?
- How deep will you grind the joints?
- Will you do a sample area for my approval?
- Do you grind with hand tools or with power tools, and how do you protect the brick edges?
- What guarantee comes with the work?
Our page on when to repoint brick covers urgency levels and more contractor questions.
Our perspective: why we repoint chimneys the traditional way
We have been working with brick in Richmond for over 25 years, and the same story repeats on older chimneys. A well-meaning patch was made with hard gray mortar, the joint looked tidy for a few winters, and then the brick faces around it started to flake. The mortar was doing fine. The brick was paying for it.
That is why we build every repair around matching what is already there. We match the brick, we match the mortar, and we use traditional lime mortar and the methods old brick was built with. The result blends in and lasts, because the wall can keep breathing the way it was designed to.
We also treat the chimney as a system. Joints, crown, cap, flashing and flue all work together, so we look at the whole stack before we quote the repair. If the cause of the damage is still active, repointing alone is just a temporary cover.
Our approach is to do the job right the first time so it lasts for decades, and we stand behind it with a 5-year guarantee on materials and workmanship.
— Thomas
Chimney repair from Heritage Masonry & Brick
We are a family-run masonry company serving Richmond, Virginia, and we repair brick on homes and businesses: loose or crumbling joints, water getting in, cracked walls and worn steps. For chimneys, that means lime mortar repointing, brick replacement and structural repair, with every repair matched to your existing brick and mortar.
Estimates are free, there are no deposits, and you pay when the work is complete. Learn more about our chimney repairs or our repointing and tuckpointing service, or call 804-324-6304 today.

If your home is in the Fan or Museum District, see our page on historic brick repair in the Fan and Museum District.
What affects the cost of repointing a chimney
No honest contractor can price a chimney without seeing it, because the same repair can be very different jobs. One cost guide lists the key factors as chimney height and reach, brick condition, regional labor rates, access and roof angle, and mortar type and color.
In practice, here is what moves the number:
- Height and access. A short chimney with an easy roof pitch is simpler than a tall one on a steep slope.
- How much is failing. Repointing the whole stack costs more than patching a few joints, and replacing spalled brick adds work.
- Mortar and color matching. Custom-matched lime mortar takes more care than a standard mix, but it is what protects older brick.
- Related repairs. Crown, cap or flashing repair, or a partial rebuild, change the scope.
If a full rebuild is on the table, our Richmond guide to chimney rebuild cost and mortar match lists what an itemized estimate should include. Ask for itemized quotes so you can compare like with like.
Protecting your Richmond chimney for the long term
Once the joints are sound, a little upkeep goes a long way:
- Schedule an annual inspection and cleaning, as the U.S. Fire Administration advises.
- Keep gutters and roof flashing in good order so water doesn't run down the stack.
- Check the crown and cap after storms and after winter.
- Trim back trees and vines. Ivy roots and constant shade hold moisture against brick.
- Act early. A joint repaired when it starts to recess costs far less than brick replaced after spalling.
- Use compatible mortar every time. Tell any contractor your home is historic and ask what mix they use.
Check the chimney once in spring and once in fall. Those are the natural points in Richmond to catch winter damage and prepare for the next one.
FAQ
What causes mortar joints in a chimney to crack?
Most cracks come from water, freeze-thaw cycles, thermal movement, drying shrinkage or settlement. Poor flashing and damaged caps let more water in. On older chimneys, a past repair with mortar that is too hard can also cause cracking in and around the joints.
What mortar should I use on an old brick chimney?
Older brick generally needs a softer, breathable mortar that matches the original, which usually means lime mortar. Virginia's historic preservation office notes that premixed bagged mortars are often too hard for historic masonry. Have a mason check your brick and existing mortar before choosing a mix.
Can I just fill chimney cracks with caulk or sealant?
Not as a lasting fix. Caulk sits on the surface, doesn't bond like mortar and can trap moisture. Cracked joints should be ground out and repointed to a proper depth, and the source of water should be fixed. A mason can tell you whether a crack is cosmetic or structural.
What is the 3-2-10 rule for chimneys?
It is a rule of thumb for chimney height: the top should sit at least 3 feet above the roof where it exits and at least 2 feet higher than anything within 10 feet horizontally. It concerns draft and safety, not mortar, though a mason can check it when working on your stack.
When is a cracked chimney an emergency?
Treat a leaning or shifting stack, large open gaps, loose bricks or cracks with signs of smoke or fumes indoors as urgent. Don't use the fireplace until a professional has inspected it. For smaller cracks, schedule an inspection soon so water damage doesn't spread.
Sources
- Common Problems with Brick Masonry, National Park Service
- Chimney Checklist technical bulletin, General Shale
- Masonry Chimney Crack Inspection and Diagnosis, InspectApedia
- Maintaining Your Historic Home, practical guide
- Heating Fires in Residential Buildings, U.S. Fire Administration
- Fireplace and woodstove safety, U.S. Fire Administration
- Preservation Brief 2: Repointing Mortar Joints in Historic Masonry Buildings, National Park Service
- Repointing historic masonry, GSA
- Repointing Mortar, Virginia Department of Historic Resources
- How To Make Common Chimney Repairs, This Old House
- Historic Masonry Re-pointing: Repair or Ruination?
- Tuck Point Chimney Cost guide