
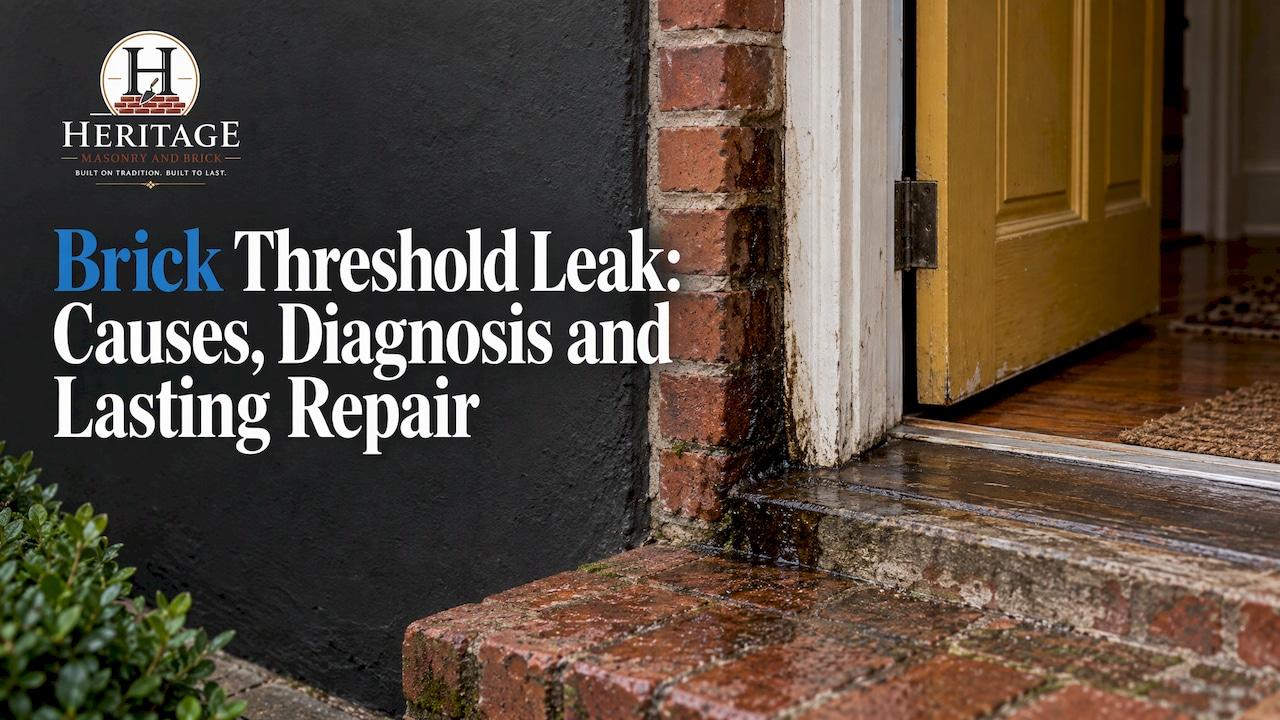
A leak where brick meets a door threshold almost never comes from the threshold alone. The water usually travels through the brick, the mortar joints or the hidden flashing and drainage behind them, then shows up at the lowest point of the opening. A lasting fix means finding that path first, then repairing the brick, the joints and the flashing together. In Richmond, Virginia, where older brick homes meet heavy seasonal rain, that is work for an experienced mason, and it is what we do every week at Heritage Masonry & Brick.
TL;DR
- Water at a brick threshold usually enters upstream: through failed mortar joints, missing or poorly lapped flashing, blocked weep holes, or poor drainage outside the door.
- A stained or damp threshold shows where water ends up, not where it got in. Trace the path from the outside, starting above and beside the door.
- Caulk and sealant are short-term patches. Lasting repairs rebuild the joints, the flashing and the drainage path.
- On older Richmond brick, repointing with traditional lime mortar that matches the original keeps the wall breathing and the repair blending in.
- We offer free estimates, a 5-year guarantee on materials and workmanship, no deposits, and payment on completion.
Table of Contents
- Why a brick threshold leaks
- Why Richmond brick is especially exposed
- How to trace the entry point
- Is it a threshold leak or rising damp?
- What actually fixes a brick threshold leak
- Why lime mortar matters on older Richmond brick
- Temporary steps while you wait for a repair
- When to call a mason
- Get the threshold repaired once
- FAQ
- Sources
Why a brick threshold leaks
A threshold is the lowest point of a wall opening. Anything that gets into the wall above or beside the door, whether through a joint, a crack or a failed seal, runs downward and meets the sill. That is why the damp patch appears at the threshold even when the real problem is two feet higher or several feet away.
Brick is porous. It absorbs water during a rainstorm and dries out afterward, and a thick wall takes longer to dry after a soaking. Walls built with a cavity are designed so that the water that gets in can drain back out. The trouble starts when that drainage path is interrupted.
Professional masonry investigators list the same frequent culprits. According to de Haan & Associates, common sources of water intrusion include:
- missing or poorly lapped flashings
- mortar droppings that block the cavity and the weep holes
- unfilled or cracked mortar joints
- gaps around windows, doors and other openings
- caps and copings that let water into the top of a wall
In other words, the threshold is where a problem elsewhere in the wall becomes visible.
The usual suspects, in order of how often we look at them
1. Mortar joints. Mortar is the softest part of a brick wall, and it is designed to be. Over decades it erodes, cracks and crumbles. Open joints let rain run straight into the wall. Around a door opening, a failed joint above or beside the frame can feed water down to the sill.
2. Flashing. Flashing is a waterproof layer, usually metal or membrane, that catches moisture inside the wall and sends it back outside. The National Association of Certified Home Inspectors notes that flashing should sit at the base, sill, head and roof locations as needed, with sealed, overlapped seams. Where it is missing, short or torn, water has nowhere to go but inward.
3. Weep holes. These are small openings, usually in the head joints of the bottom brick course, that let trapped moisture escape. The Masonry Advisory Council calls weep vents the main escape point for moisture in a masonry wall. Mortar smears, debris, paint or well-meant caulking can seal them shut. We cover this in more detail in our guide to weep holes in brick.
4. The door unit itself. Door sweeps, weatherstripping and frame joints wear out. NACHI's moisture guidance says doors and windows should be assumed to leak some water into the wall without careful installation, and that frames relying on sealed joints eventually leak as those joints age. A sill pan, the waterproof tray under a door that catches this water, is the safety net. If the pan is missing or too shallow, the water reaches the interior.
5. Grade and drainage outside. The Masonry Advisory Council points out that water needs about a 2% grade, roughly 1 inch of drop per 4 feet, to move off a surface. A walkway, patio or step that slopes toward the door, or a downspout that dumps at the threshold, sends water exactly where you do not want it. Our article on brick patio drainage explains how to spot pooling.
Why Richmond brick is especially exposed
Richmond gets about 44 inches of rain a year, against a U.S. average of 38, and the wettest stretches come in late summer and fall. Add freezing nights in winter, when water inside brick expands as it freezes, and any small opening in a joint gets wider every year.
Many homes in the Fan District, the Museum District and along Monument Avenue were built a century or more ago. Their brick was laid with lime mortar, a soft, breathable mix that lets moisture move out of the wall. Over the decades, many of these walls were patched with hard modern cement mortar. That mismatch causes trouble, and we come back to it below.
How to trace the entry point
The goal is to find the path, not just the wet spot. Here is the order a careful mason or building investigator works in.
Step 1: Map the evidence
Look at the damage on both sides of the door. de Haan & Associates describes how investigators start by mapping staining, efflorescence, cracks and interior damage, then compare that pattern with the wall's flashings, openings and joints. Warning signs to note:
- white, powdery efflorescence (salt left behind as water evaporates)
- cracked, eroded or missing mortar
- spalling, where the brick face flakes off
- stair-step cracks following the mortar joints
- staining below sills, caps and flashings
- peeling paint or damp plaster inside near the door
A crack is a clue, not proof of where water enters. Photograph everything and note whether the leak appears only after wind-driven rain or after any rain at all. That detail narrows the search quickly.
Step 2: Walk the outside
Check the joints above and beside the frame, the brick sill or ledge, any lintel over the door, and the grade below. Look at where the nearest downspout discharges and whether the walkway or step slopes toward the door. Check whether weep holes along the bottom course are open or packed with debris.
Step 3: Check the door unit
The U.S. Department of Housing and Urban Development's rehabilitation guide directs inspectors to check door condition, fit and hardware, the exterior condition of frames and sills, and head flashing on unprotected doors. Look for worn sweeps, compressed weatherstripping, and gaps at the corners of the frame.
Step 4: Separate door leaks from wall leaks
A practical clue: if the leak appears only during wind-driven rain, the brick face and joints are the likely path. If it appears under any rain, think drainage, grade or flashing. If the door sweep stays dry but water appears under or below the threshold, the problem is likely in the wall or sill assembly behind the brick.
Step 5: Isolate and test in the right order
Professionals use controlled water testing to confirm a suspected path. IIBEC's guidance on masonry leak investigation recommends testing the wall as found, isolating adjacent components, and working from the bottom of the area upward, so the entry point and water path can be traced. The same guidance cautions that exterior exploratory openings should not usually be made before that testing is done. Opening up the wall first can destroy the evidence you need.

This is the point where an on-site assessment pays for itself. A mason who sees brick leaks every week reads the pattern faster than a homeowner reading a wet patch.
Is it a threshold leak or rising damp?
Not every damp brick wall is a threshold leak. Moisture that wicks up from the ground through the masonry produces a tide line across the base of the wall, often along its whole length. A threshold leak is local: damp or staining concentrated at the door, usually during or after rain. If you are unsure which you have, it helps to read about damp and moisture problems at home, then compare with the pattern you mapped in step 1.
If a pattern across a wall suggests moisture from below, our page on brick moisture testing explains why a single reading is not enough and why a sample matters.
What actually fixes a brick threshold leak
The repair depends on the cause. In most cases it is a combination.
| Cause | Typical repair |
|---|---|
| Cracked or eroded mortar joints | Repointing: grinding out the failed mortar and refilling with matching mortar |
| Cracked, spalled or loose brick | Replacing or repairing the brick with matching units |
| Missing, short or damaged flashing | Installing or repairing through-wall flashing and end dams |
| Blocked weep holes | Clearing and restoring the weep vents |
| Worn brick step or sill sloping toward the door | Rebuilding with proper slope away from the opening |
| Ground or walkway sloping toward the wall | Regrading or resetting the walk or patio |
Repointing: the most common fix
Repointing, sometimes called tuckpointing, replaces failed mortar in the joints. Done right, it restores the wall's first line of defense against rain. Done badly, with a mortar harder than the brick, it can cause new damage. Our repointing and tuckpointing service is built around doing it the traditional way.
Flashing: the hidden repair
Flashing is the part most homeowners never see, and the part most often responsible when water keeps coming back after surface repairs. IIBEC's field guide explains that a complete sill pan has upturned legs at the ends and interior edge, forming a three-sided tray, and that the height of the rear leg helps resist wind-driven water. Where the brick, door and flashing meet, a repair has to be planned as one system. Read more in our guide to through-wall flashing in brick.

Structural repairs when the wall has moved
Stair-step cracks beside a door, a sagging lintel or a sill that has dropped all open paths for water and signal movement. These need structural attention, not just joint filling. We handle that through our structural brick and masonry repairs.
Steps and walkways at the door
Many Richmond doors open onto brick steps or a brick stoop. If those have settled or lost their slope, rain runs back toward the threshold. Rebuilding them corrects the water path at its source. See our brick steps and step repair work.
Why lime mortar matters on older Richmond brick
Lime mortar is a traditional mix of lime, sand and water. It is softer and more permeable than modern Portland cement mortar. In a historic brick wall that is exactly the point: the mortar is meant to be the sacrificial, breathable part of the wall, so that moisture leaves through the joints rather than through the brick faces.
The National Park Service's guidance on repointing historic masonry, Preservation Brief 2, says new mortar should be similar to or weaker than the original so that it never becomes harder than the brick around it. A mortar that is too hard and too dense traps moisture and pushes stress into the brick, which can then crack or spall at the face.
What this means at a brick threshold:
- Matching mortar keeps the wall breathing. Water that does get in can evaporate through the joints instead of staying trapped behind the brick near the sill.
- A soft joint protects the brick. If the wall flexes with seasonal temperature swings, the joint takes the movement and the brick survives.
- Matching color and tooling keeps the home's character. On a Fan District rowhouse or a Monument Avenue facade, a patch that stands out is a patch that gets noticed.
On every repair, we match the existing brick and mortar so the work blends in, using the traditional methods old brick was built with. That includes lime mortar repointing, which is central to our work.
Temporary steps while you wait for a repair
Until a mason can assess the door, you can limit the damage without altering the wall:
- Move rugs, furniture and stored items away from the threshold.
- Keep weep holes and surface drains clear of leaves, soil and mulch.
- Direct downspout water away from the door area.
- Photograph the leak during rain, with dates, to help show the pattern.
Avoid smearing caulk or sealant across the brick, joints or weep holes. Blocking the wall's drainage path can trap water inside and make the damage worse, and it can hide the very evidence needed to find the source.
When to call a mason
Call for a professional assessment when:
- water returns after every heavy rain
- you see efflorescence, spalling or stair-step cracks near the door
- the sill, lintel or step has visibly moved
- the interior wall, trim or floor near the door is stained, soft or peeling
- the home is historic brick and the previous repairs used hard cement mortar
If you see signs of mold, a soft or rotted floor, or any concern about electrical wiring near wet areas, treat that as a safety matter and bring in the appropriate licensed professional alongside the mason.
Our view: fix the path, not the puddle
We have spent more than 25 years repairing brick in Richmond, and the pattern on a threshold leak is consistent. Homeowners repair what they can see: the threshold, the weatherstripping, a line of caulk. The water is coming from somewhere else, and it comes back.
Our approach is to treat the brick, mortar, flashing and drainage as one system. We look at the joints above and beside the opening, the sill, the grade, and the way the wall was built. Then we repair it with the traditional methods old brick was built with, matching the existing brick and lime mortar so the repair blends in and the wall can breathe.
That is how a repair lasts for decades. It is also why we stand behind it with a 5-year guarantee on materials and workmanship.
Thomas
Get the threshold repaired once
If water is getting in at a brick threshold on your Richmond home or commercial property, we repair the brick, repoint the joints and restore the surrounding masonry so the fix holds. We offer free estimates, require no deposits, and you pay on completion, with our 5-year guarantee on materials and workmanship behind the work.

Start with our brick repair service or call 804-324-6304 today to schedule your free estimate. You can also browse our masonry advice for more on keeping brick dry. For a wider look at how water gets through brick, see water leaking through brick and brick water intrusion in Richmond, VA.
FAQ
Why do brick houses have weep holes?
Weep holes let moisture that gets behind the brick drain back outside. They are usually placed in the bottom course and above openings, and they work together with flashing. If they are blocked, water pools inside the wall and can show up at a door threshold.
How long does it take for a brick wall to dry out?
It depends mostly on wall thickness, exposure and whether the source of water has been stopped. Brick absorbs water in a storm and then dries on its own, and a thick wall dries more slowly. Drying only starts in earnest once the leak path is repaired.
Can a leaking brick wall be repaired?
Yes. Most leaks come from failed mortar joints, damaged flashing, blocked weep holes or poor drainage, and each has a proven repair: repointing, flashing repair, clearing weeps or correcting slope. A mason who traces the water path first can usually fix the cause rather than the symptom.
What is the life expectancy of a brick house?
Well-built brick can last a century or more, and many Richmond homes prove it. The joints, flashing and drainage details need maintenance along the way, and repointing with matching lime mortar is one of the main ways old brick stays sound.
Sources
- Richmond, VA climate, BestPlaces
- Preservation Brief 2: Repointing Mortar Joints, National Park Service
- Masonry Flashing for Exterior Openings, Masonry Advisory Council
- Masonry Defect Investigation, de Haan & Associates
- Inspecting Visible Masonry, NACHI
- How to Inspect the Exterior, NACHI
- How to Inspect for Moisture Intrusion, NACHI
- Residential Rehabilitation Inspection Guide, HUD
- Evaluating Water Leakage in Mass Masonry Walls, IIBEC
- A Flash in the Pan: A Field Guide for Windows and Doors, IIBEC