
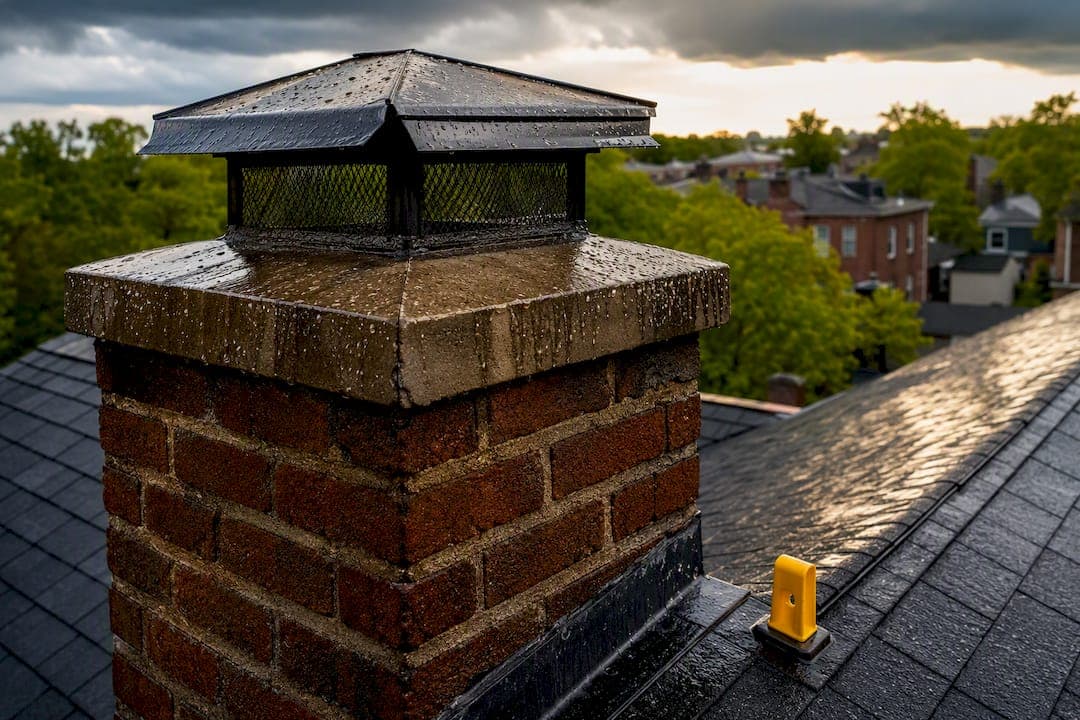
A chimney leaking after rain almost always traces back to one of five failures: a missing or damaged cap, a cracked crown, gapped flashing, porous brick and mortar, or a flue and liner problem. Stop using the fireplace or any appliance venting through that chimney until the entry point is diagnosed. Water and heat sources do not mix safely, and a masonry problem near a flue can carry real risk.
TL;DR:
- Roof-level inspections after storms are critical to identify cap, crown, or flashing issues that cause water ingress, especially if external signs are not obvious.
- Breathing masonry waterproofing should only be applied after repairing the structural entry points, as sealing damaged mortar or cracked crowns traps moisture and accelerates deterioration.
- Chimney caps, crowns, and flashing each fail in specific ways: caps rust or are undersized, crowns crack or sit flat, and flashing leaks where the chimney meets the roof line.
- A water test performed by a professional can reliably locate the exact entry point, especially when external signs are inconclusive, saving unnecessary repairs.
- Annual professional inspections, plus checks after storms and proper maintenance, are the best prevention strategy to avoid costly permanent repairs.
Table of Contents
- What Causes Chimney Leaks After Rain? A Quick Checklist
- How Do You Safely Find Where the Water Is Coming In?
- Why Do Chimney Caps, Crowns, and Flashing Fail in the Rain?
- What to Do Right After the Rain to Limit Damage
- What Are the Permanent Fixes and What Do They Cost?
- How Often Should You Inspect and Maintain Your Chimney?
- When Should You Call a Professional Chimney Contractor?
- How Heritage Masonry & Brick Diagnoses and Fixes Chimney Leaks
- Get a Straight Answer on Your Chimney Leak
- Sources
What Causes Chimney Leaks After Rain? A Quick Checklist
Before you call anyone, walk the property and check these five spots in order. Each one points toward a different repair, and knowing which symptom matches which cause saves you from paying for the wrong fix.
- Cap: Look up at the top of the flue. Missing, rusted, or undersized caps let rain fall straight down the flue.
- Crown: The concrete slab on top of the chimney. Hairline cracks or a flat (non-sloped) surface pool water and funnel it into the masonry.
- Flashing: The metal seal where the chimney meets the roofline. Gaps or lifted edges here let water run down inside the wall cavity rather than off the roof.
- Masonry condition: Soft, crumbling mortar joints or brick faces that look chalky or flaking (spalling) absorb water like a sponge.
- Interior symptom location: Water inside the firebox usually means cap, crown, or flue. Stains on the ceiling near the chimney, especially a few feet away from the stack, usually mean flashing or roof drainage.
Photograph everything you find, note the date, and move anything valuable away from the affected wall or ceiling. That record becomes useful both for your contractor's diagnosis and for an insurance claim if the damage is significant.
How Do You Safely Find Where the Water Is Coming In?
Guessing where water enters a chimney wastes money on repairs that don't fix anything. Water can enter high on the roof and travel along framing or masonry before it shows up somewhere else entirely inside the house, so a methodical check matters more than intuition.
Work through these steps before calling a contractor:
- Check the firebox and damper for standing water, drip marks, or rust on the damper plate.
- Inspect the mantel and surrounding wall for soft drywall, bubbling paint, or a musty smell, all signs of slow-moving moisture.
- Look in the attic near the chimney chase for wet framing, dark staining on sheathing, or insulation that's compressed and damp.
- Do not light a fire until you've ruled out water sitting in the firebox or flue.
- Request a water test from a qualified inspector if the source isn't obvious. A water test applies controlled water at specific points on the roof and chimney, one section at a time, to reproduce the leak and pinpoint exactly where it starts. It's far more reliable than staring at the roofline and guessing.
Pro Tip: If you see active dripping from a ceiling light fixture, smell anything unusual near a gas or oil appliance vent, or notice a sudden large volume of water rather than a slow stain, stop and call a professional immediately. Those are signs the problem has moved beyond a simple masonry leak.
Escalate to a licensed inspector any time water appears near an appliance vent. If the flue serves a gas or oil unit, follow carbon monoxide safety guidance and don't restart that appliance until the vent path is confirmed clear and dry.
Why Do Chimney Caps, Crowns, and Flashing Fail in the Rain?
Each part of a chimney handles rain differently, and each one fails in its own way. Understanding the mechanism tells you what repair actually solves the problem instead of just hiding it for a season.
Chimney caps are the first line of defense. A missing cap, one that's rusted through, or one sized wrong for the flue lets rain and wind-driven debris fall straight down the stack. Caps come in stainless steel, copper, and galvanized metal, and the right choice depends on flue size and local exposure to weather. A listed vent cap installed correctly at the top stops most rain before it ever reaches the masonry below.
Chimney crowns are the concrete or mortar cap sealing the top of the brick stack. Hairline cracks widen every winter as freeze and thaw cycles push them apart, and a crown poured flat instead of sloped lets water sit and soak in rather than run off. Small cracks can be patched and sealed. Wider cracking or a crown that's separating from the flue tile usually calls for a full rebuild.
Flashing creates the watertight seal where the chimney meets the roof deck, using step flashing along the sides and counter flashing tucked into the mortar joints above. Flashing is one of the most common points of failure in the entire system, and because it ties directly into shingles, a roofer often needs to be involved alongside the mason.
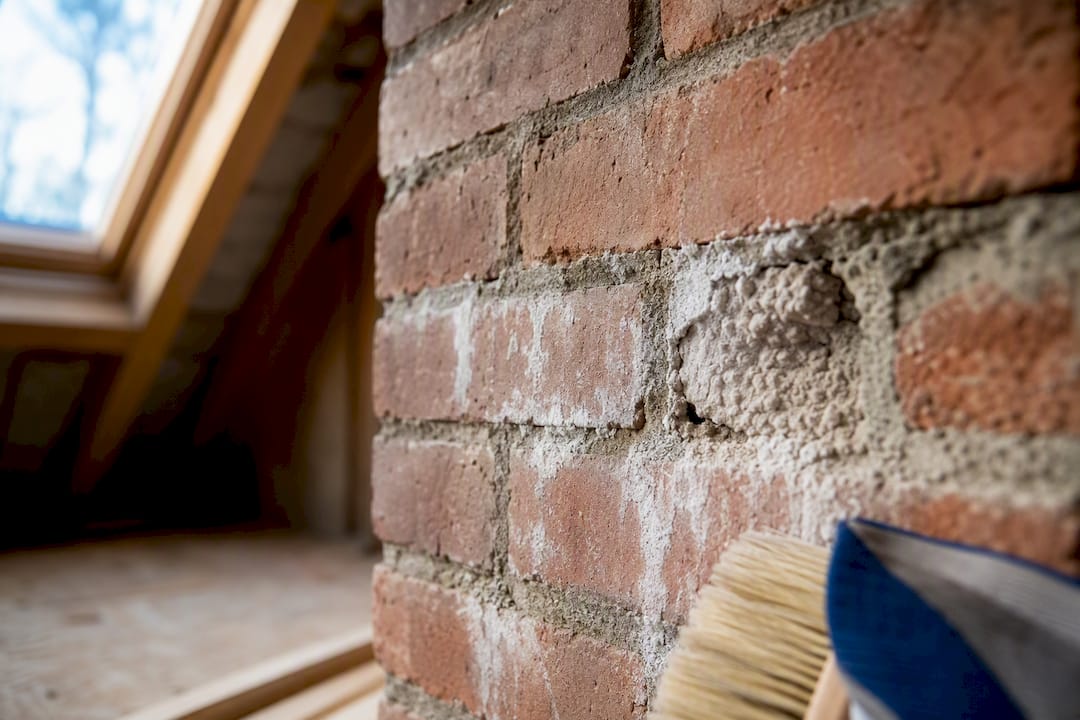
Porous brick and mortar show up as efflorescence (white, powdery mineral deposits), spalling brick faces, or mortar joints soft enough to scrape out with a fingernail. Repointing has to happen before any waterproofing goes on. Sealing over failing mortar traps moisture inside the wall instead of keeping it out.
Flue liners and condensation create a different kind of wet problem. Some metal liners include a small drain hole at the base that lets condensation escape on purpose, and it's easy to mistake that trickle for a rain leak. Camera inspection settles the question and shows whether relining is actually needed.
Roof drainage, chase covers, and crickets round out the list. A rusted chase cover, a missing cricket (the small peaked structure that diverts water around a chimney on a sloped roof), or gutters dumping runoff back toward the stack can concentrate water at the chimney junction even when the flashing itself is intact.
What to Do Right After the Rain to Limit Damage
Once you've spotted a leak, protect the house first and diagnose second. Stop using the fireplace or any appliance that vents through the affected chimney, and keep a working carbon monoxide alarm nearby if a gas or oil appliance shares that flue.
- Place towels or a container under active drips and move furniture or rugs out of the drip zone.
- Photograph the stains, water pooling, or damp masonry, with the date, for your records and any estimate you request.
- Open a window slightly near the affected room if there's any odor concern, and don't restart appliances until you've confirmed the vent path is clear.
- Skip the caulk gun. Non-breathable caulk or paint on damp masonry seals moisture inside the brick rather than letting it escape, and it makes the eventual repair harder.
- Don't attempt a roof-level patch unless you have real roofing experience. A rushed DIY fix on a wet, sloped surface is a fall risk and rarely solves the actual leak.
What Are the Permanent Fixes and What Do They Cost?
Temporary patches buy time. Permanent fixes follow a specific order, and skipping steps is exactly why some leaks come back every spring.
The sequence that actually works: diagnose the entry point first, complete the targeted structural repair, then apply breathable waterproofing only if the masonry needs added protection. Applying sealant before repairs are done just locks moisture inside the wall.
Here's what each repair involves and roughly where it falls on the cost and disruption scale:
- Cap replacement is usually the least expensive and fastest fix, often completed in under an hour once a technician is on the roof.
- Crown patch and seal work for minor cracking and takes a single visit; a full crown rebuild costs more and takes longer because the old crown has to be removed and repoured.
- Flashing replacement involves both a mason and often a roofer, since the new flashing has to tie into surrounding shingles correctly.
- Repointing and tuckpointing addresses failing mortar joints and can range from a few courses of brick to the entire stack, depending on how far deterioration has spread.
- Relining the flue is the most involved repair on this list, usually reserved for liners damaged by moisture, age, or a chimney fire.
Minor cap or crown patch work typically wraps up in a single day. A full crown rebuild or extensive repointing job can stretch across several days depending on scaffolding needs and weather windows, since masonry work doesn't happen in active rain.
How Often Should You Inspect and Maintain Your Chimney?
Prevention costs far less than repair, and most of it comes down to a short seasonal routine plus one professional visit a year.
- Schedule an annual professional inspection. The National Fire Protection Association recommends regular inspection and cleaning on a set schedule, and doing this every year catches small cracks before they become full leaks.
- Add an extra check after major storms. High wind combined with heavy rain is exactly the combination that dislodges caps and worsens existing crown cracks.
- Apply breathable masonry waterproofing only after any needed repairs are complete. Sealing over damaged mortar or a cracked crown traps moisture instead of blocking it, which speeds up deterioration rather than slowing it.
- Walk the property each spring and fall. Check the cap for rust or debris, clear leaves from crickets and gutters, confirm downspouts direct water away from the foundation and chimney base, and look for fresh efflorescence or missing mortar.
The CSIA points homeowners toward four core defenses: a working cap, a sound crown, intact flashing, and breathable waterproofing applied at the right time. That short list covers almost every leak this article has walked through.
When Should You Call a Professional Chimney Contractor?
Call a professional the moment you can't identify the source yourself, or when the leak involves a gas or oil vent. A thorough diagnostic visit should include a roof-level visual check, a water test to reproduce the leak under controlled conditions, and an HD camera flue inspection if condensation or liner damage is suspected.
Watch for red flags in estimates before you sign anything:
- A quote for blanket waterproofing with no mention of repointing or crown condition first.
- A single-line "quick patch" that doesn't name which component (cap, crown, flashing) is actually being repaired.
- No written estimate, no timeline, and no workmanship guarantee attached to the job.
Ask for a written scope of work, a realistic timeline, and confirmation of a workmanship guarantee before any repair starts.
How Heritage Masonry & Brick Diagnoses and Fixes Chimney Leaks
Heritage Masonry & Brick has spent over 25 years repairing chimney crowns, replacing caps, repointing failing mortar, and relining flues around Richmond. Every job starts with a real diagnosis, not a guess, and every completed repair carries a 5-year workmanship guarantee. If your chimney has been leaking after rain, a free estimate on chimney repairs is the fastest way to find out what's actually failing.
— Thomas
Get a Straight Answer on Your Chimney Leak
A masonry contractor offers diagnostic services to find actual entry points of chimney leaks and matches repair materials to existing masonry so the fix blends in rather than stands out.

Every job comes with a free estimate and a 5-year workmanship guarantee, so you know exactly what you're paying for before work begins. If your chimney has leaked after recent rain, request a free brick and chimney inspection and get a written diagnosis instead of another temporary patch.
Sources
For deeper safety and technical guidance, see CSIA's homeowner resources on cap, crown, and flashing basics, NFPA's inspection standards, CDC carbon monoxide guidance, and the Four Winds Chimney diagnostic overview.
- How often should I have my chimney inspected?
- Q&A: Why does water leak through the bottom of my chimney?
- CSIA homeowner resources
- Carbon monoxide (CDC)