
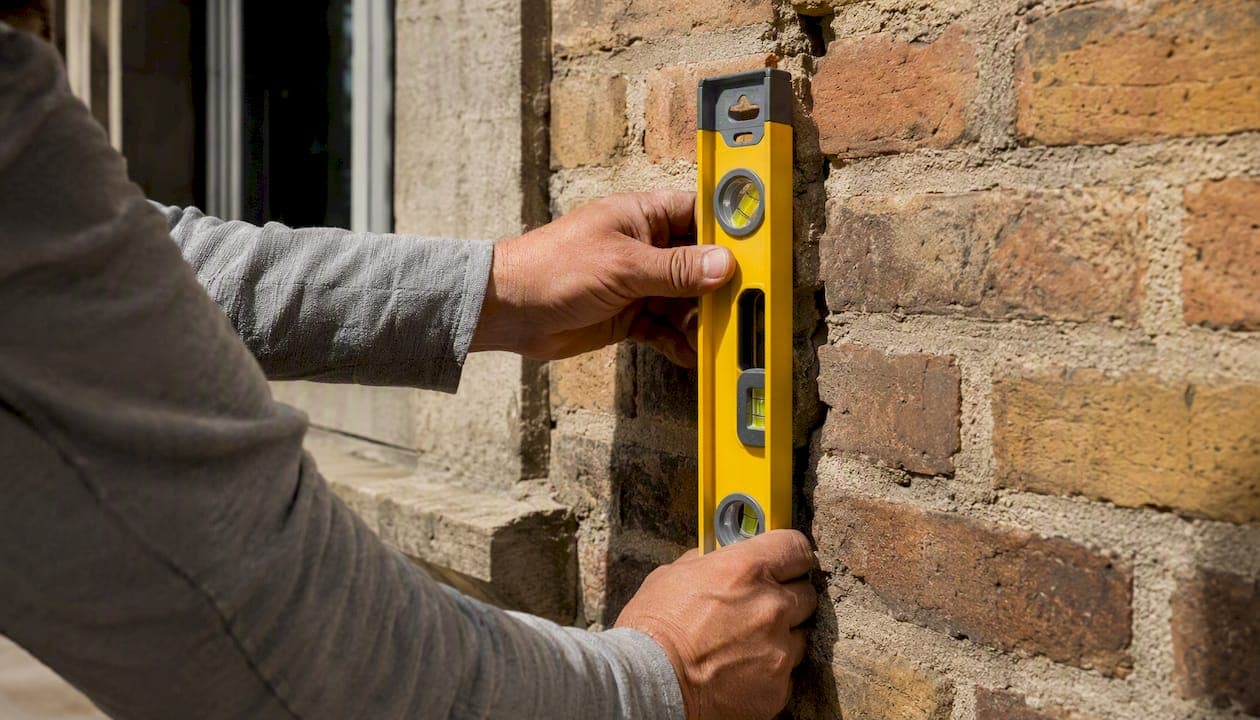
Yes, you can repair many exterior brick cracks yourself. Most hairline cracks and mortar-joint gaps under specific width thresholds are safe DIY projects if the crack is dormant, meaning it has stopped moving. Active cracks, anything wider than 1/2 inch, stair-step patterns across multiple courses, or a bulging wall need professional evaluation before you touch a trowel.
Here's your immediate plan:
- Measure the width with a feeler gauge, caliper, or the edge of a credit card (about 1/32 inch thick).
- Note the pattern. A straight vertical hairline behaves differently than a stair-step crack marching diagonally through the mortar joints.
- Install a simple crack monitor or draw a dated pencil line across the crack to track movement over the next few weeks.
Quick verdict: Static, narrow cracks are a weekend DIY fix. Growing, wide, or diagonally stepped cracks call for a mason or engineer. Mortar itself commonly shows significant deterioration within 20 to 30 years, so even a "normal" crack often signals it's time for maintenance. Heritage Masonry & Brick backs its repair work with a 5-year workmanship guarantee, and organizations like the Brick Industry Association publish guidance on breathable sealing that every homeowner should follow before caulking anything shut.
Key Takeaways
Dormant, narrow cracks under 1/4 inch are safe DIY repairs; active, wide, or stair-step cracks require professional structural evaluation before any cosmetic work begins.
| Point | Details |
|---|---|
| Measure before repairing | Use a feeler gauge or credit card edge; under 1/16 inch is cosmetic, over 1/2 inch is a red flag. |
| Confirm activity first | Install a simple crack monitor for several weeks before committing to a permanent repair. |
| Match mortar type | Use Type N or Type O mortar rather than hard portland mixes that crack older brick. |
| Grind to full depth | Remove old mortar to twice the joint width to avoid shallow patches that fail early. |
| Call a pro for red flags | Heritage Masonry & Brick offers free estimates and a 5-year workmanship guarantee for structural or complex repairs. |
Table of Contents
- How to Identify Crack Type and Measure Severity
- What Red Flags Mean You Need a Structural Engineer or Mason?
- What Tools and Materials Do You Need for Brick Repair?
- Step-by-Step Guide to Repairing Common Brick Cracks
- How Do You Prevent Brick Cracks From Coming Back?
- How Much Does Brick Crack Repair Cost and Take?
- How Do Professional Masons Approach Complex Crack Repairs?
- Frequently Asked Questions
- Sources
How to Identify Crack Type and Measure Severity
Not all brick cracks are created equal, and lumping them together is how homeowners either panic over nothing or ignore something serious. Start by classifying what you're looking at.
Hairline cracks run through mortar or brick face but are barely visible, usually the width of a pencil line. Mortar-joint cracks follow the horizontal or vertical joints between bricks without cutting through the brick itself. Through-brick cracks split the actual brick unit, often vertically. Stair-step cracks zigzag diagonally through mortar joints in a staircase pattern, almost always a red flag for foundation movement. Horizontal cracks or bulging indicate the wall is pushing outward, a structural concern that should never wait.
Width matters as much as pattern. Use these thresholds as your baseline:
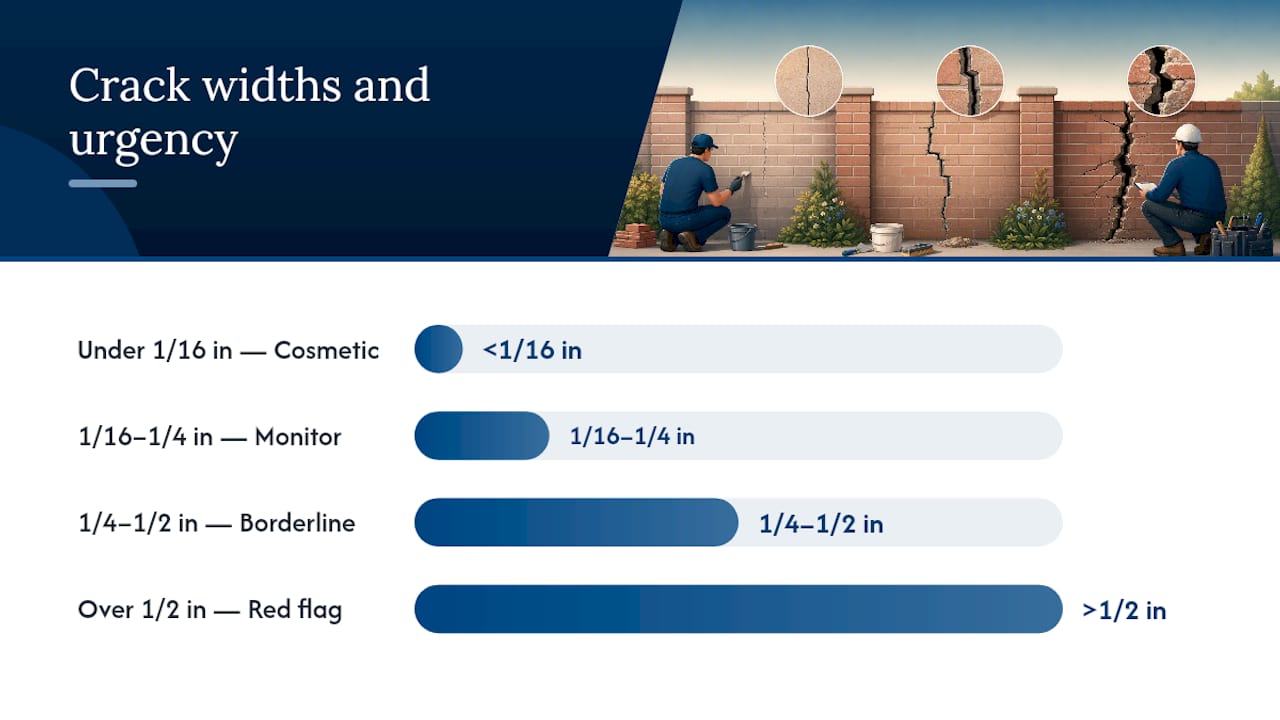
- Under 1/16 inch: Hairline, cosmetic, low risk. A feeler gauge or the edge of a credit card confirms this range easily.
- 1/16 to 1/4 inch: Common mortar-joint cracking from normal seasonal movement. Usually cosmetic but worth monitoring.
- 1/4 to 1/2 inch: Borderline. Worth a closer look, especially if paired with stair-stepping.
- Over 1/2 inch, or any stair-step pattern: Red flag. Stop and read the next section before doing anything.
Measuring alone doesn't tell you if a crack is finished moving or still active. That's where a tell-tale monitor earns its keep. A basic version costs a few dollars: two overlapping plates of plastic or glass epoxied across the crack, scored with a reference line. If the plates shift relative to each other over several weeks to a few months, the crack is active. Installing a monitor before major repair work prevents you from wasting time and mortar on a wall that's still settling.
Pro Tip: Take a photo of every crack next to a tape measure on day one. Repeat monthly. If you ever need an engineer's opinion, that timestamped record is worth more than a verbal description of "it's gotten a little worse."
What Red Flags Mean You Need a Structural Engineer or Mason?
Some cracks are cosmetic paperwork. Others are the wall telling you something is wrong underneath. Know the difference before you grab a trowel.
Call a professional immediately if you see any of the following:
- Cracks wider than 1/2 inch, especially if they've grown since you first noticed them.
- Stair-step cracks that span three or more courses of brick.
- Any bulging, bowing, or outward lean in the wall surface.
- Doors or windows nearby that have started sticking or no longer close square.
- A crack that widens measurably on your monitor within a few weeks.
The distinction between an engineer and a mason matters here. A structural engineer diagnoses whether the building is moving, whether from foundation settlement, a failed lintel, or hydrostatic pressure from poor drainage. A mason like Heritage Masonry & Brick handles the repair itself, including repointing, tuckpointing, and brick replacement, typically after any structural movement has been confirmed stopped or addressed.
Before a pro arrives, do three things: keep water away from the area by clearing gutters and extending downspouts, photograph and measure the crack weekly, and resist the urge to caulk over it. A sealed crack that's still moving just hides the evidence an engineer needs.
Pro Tip: Get at least two contractor estimates before committing to structural work. Heritage Masonry & Brick offers free estimates and a 5-year workmanship guarantee, which gives you a documented baseline to compare against any other bid.
What Tools and Materials Do You Need for Brick Repair?
Your material choice depends entirely on which type of crack you're fixing, and using the wrong mortar is one of the most common mistakes homeowners make.
For hairline cracks, a paintable masonry caulk or a thin polyurethane filler does the job. For mortar-joint repointing, you want a polymer-modified mortar, usually a Type N mix for general repairs or a softer Type O for older, historic brick. Matching mortar type to the brick's age and hardness prevents the new mortar from being harder than the brick itself, which forces the brick to crack instead of the joint.
Your tool checklist:
- Cold chisel and hammer, or a tuckpoint grinder with a diamond masonry blade for joint removal.
- Joint raker for consistent depth control.
- Pointing trowel and margin trowel for placing and shaping mortar.
- Wire brush and shop vacuum for cleaning debris.
- Mortar mixing bucket and a pointing bag or tuckpointing tool.
- Backer rod for any gap wider than 1/2 inch before filling.
Skip epoxy or standard concrete patching compounds on exterior brickwork. They're rigid, non-breathable, and trap moisture behind the surface, which accelerates freeze-thaw damage.
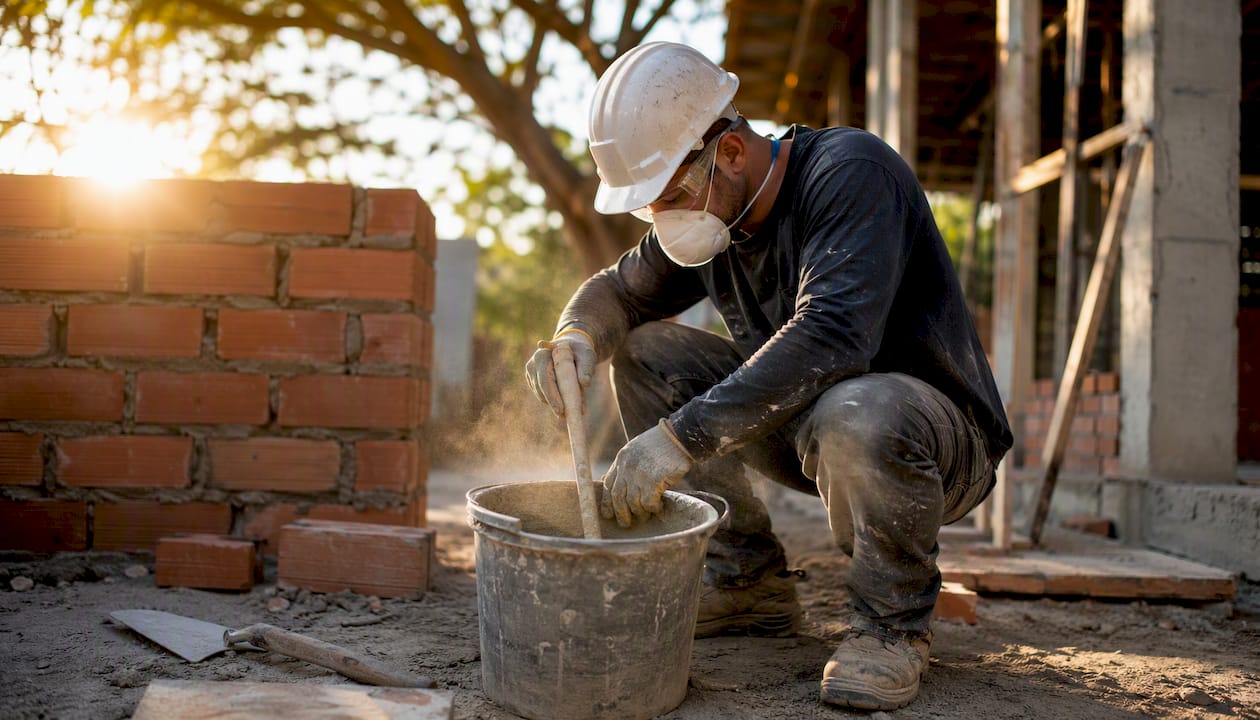
Safety and environmental limits: wear an N95 respirator, eye protection, and gloves when grinding or mixing mortar dust. Work only when temperatures stay above roughly 40°F and below 90°F during mixing and curing. Buy a small test batch of mortar dye first. Colors shift as mortar cures, and matching it to century-old brick on the first try is rare.
Step-by-Step Guide to Repairing Common Brick Cracks
The method changes depending on what you're repairing, but the underlying discipline is the same: clean thoroughly, fill completely, and finish to match what's already there.
Method 1: Fixing a Hairline Crack
- Clean the crack with a wire brush and blow out debris with compressed air or a shop vacuum.
- Let the surface dry completely; moisture prevents adhesion.
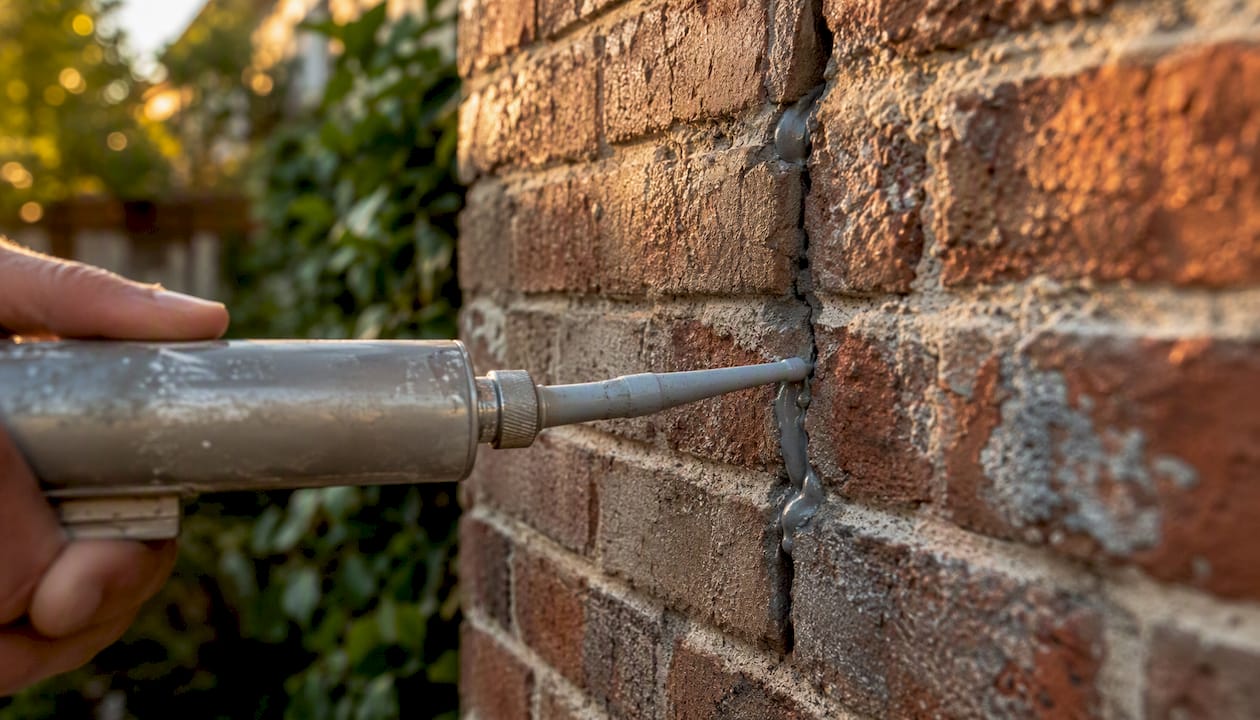
- Apply masonry caulk or a thin polyurethane filler directly into the crack, working it in with a putty knife.
- Tool the surface flush with the surrounding brick or mortar.
- Let it cure per the product label, typically 24 hours before exposure to rain.
Caulk works fine for cosmetic hairlines under 1/16 inch. Once you're above that, switch to a color-matched mortar instead. Caulk on a wider crack tends to look like exactly what it is: a patch.
Method 2: Repointing a Mortar-Joint Crack
- Grind or chisel out the damaged mortar to a depth of at least twice the joint's width, generally 3/4 inch to 1 inch deep. Shallow patches fail because they don't have enough surface area to bond.
- Vacuum out dust and loose debris, then brush the joint clean.
- Mist the joint with water. Dry brick pulls moisture out of fresh mortar too fast, causing weak, crumbly repairs.
- Pack the polymer-modified mortar into the joint in layers, roughly 1/4 to 3/8 inch at a time, pressing firmly to avoid air pockets.
- Once the mortar reaches thumbprint hardness (firm but slightly yielding), tool it to match the existing joint profile, whether concave, flush, or raked.
- Mist the repair two to three times daily for the first few days to slow curing and reduce shrinkage cracking.
Expect to find more damage once you start grinding. Deeper, crumbly mortar behind the visible crack is common, and filling only the surface while ignoring that void is how repairs fail within a year or two. Grind until you hit solid material, not until you've hit your patience limit.
Method 3: Repairing a Cracked Brick Without Full Replacement
- Clean the crack thoroughly and let it dry.
- Mix mortar with masonry dye to match the brick's color as closely as possible, testing on scrap material first.
- Using a margin trowel, pack the dyed mortar into the crack carefully, avoiding smears onto the surrounding mortar joints.
- Finish flush with the brick face and let cure per the mist schedule above.
Dyed mortar can make a cracked brick visually disappear without the risk of damaging neighboring bricks during a full swap. Save actual brick replacement for units that are structurally failing, spalling badly, or too far gone to patch.
For wider structural cracks, roughly 2 to 5 millimeters, injection grout is a common approach; beyond that, stitching with helical bars enters the picture, which is squarely professional territory.
Common pitfalls to avoid: never use Type M or Type S mortar, or straight portland cement, on older or historic brick. Those mixes are harder than the brick itself and force cracking to relocate rather than stop. Don't smear excess mortar across the brick face while pointing. It stains permanently and is nearly impossible to remove cleanly.
If any of this work happens above ground level, use a properly secured ladder rated for the task, never overreach, and consider scaffolding or a lift for second-story repairs. Working at height while handling wet mortar and power tools is where most DIY masonry injuries happen, not the repair itself.
How Do You Prevent Brick Cracks From Coming Back?
A repaired crack that reopens in three years usually means the underlying moisture problem was never addressed.
Focus on these fixes:
- Keep gutters clear and extend downspouts at least 4 to 6 feet from the foundation.
- Grade soil so it slopes away from the house rather than pooling against the wall.
- Inspect and maintain flashing above windows, doors, and roof lines where water intrusion starts.
- Avoid planting trees or large shrubs close to foundation walls; root growth is a frequent, underrated cause of settlement cracking.
Schedule a visual inspection annually, and plan for minor tuckpointing every 10 to 20 years depending on your mortar's condition and local climate exposure. Check the wall again after any major storm or period of soil saturation.
Resist the temptation to spray on a heavy-duty waterproof sealer. Non-breathable coatings trap moisture inside the brick, which worsens freeze-thaw spalling instead of preventing it. If sealing penetrations or thresholds near your brickwork, pairing that work with proper door and threshold weatherproofing closes another common entry point for water.
How Much Does Brick Crack Repair Cost and Take?
Budget and timeline depend heavily on scope. A single hairline patch runs cheap and quick; a full repointing project is a different commitment entirely.
- Small DIY hairline fix: Materials only, usually under $30. Time investment: 1 to 2 hours plus 24 hours of cure.
- Mid-size repointing section (DIY): Materials plus a rented grinder, often $75 to $200. Time: a full day to grind and refill, several days of misting and cure afterward.
- Full contractor repointing or brick replacement: Labor-intensive and priced per project scope; get a written estimate rather than guessing.
When getting quotes, ask each contractor about warranty length, the exact scope of work, mortar type proposed, and how they plan to color-match new material to existing brick. If two bids differ wildly on mortar type or depth of repair, that's worth a follow-up question before you sign anything.
How Do Professional Masons Approach Complex Crack Repairs?
Experienced masons don't skip straight to mortar. Their process runs through diagnosis first, repair second.
- Triage and monitor: Install crack monitors to confirm the wall has stopped moving before starting cosmetic work.
- Diagnose root cause: Settlement, a failing lintel, and poor drainage all produce similar-looking cracks but need different fixes.
- Stabilize if needed: Structural stitching with helical bars, specified by an engineer, addresses movement that repointing alone can't fix.
- Finish with precision: Color-matched mortar and joint profiles that blend the repair into decades-old brickwork.
Pro Tip: A repair that skips root-cause diagnosis often looks perfect for a year, then reopens in the exact same spot. Fixing the cause, not just the crack, is what separates a lasting repair from a temporary patch.
Heritage Masonry & Brick backs this process with a 5-year workmanship guarantee, giving homeowners a documented standard to hold the repair against.
A Contractor's Note on Getting This Right
I've spent more than 25 years matching mortar color and joint profiles on Richmond's older brick homes, and the repairs that last are always the ones where nobody rushed the prep work. If you're seeing any red-flag pattern in your own wall, get it inspected. We offer free estimates.
When to Call Heritage Masonry & Brick
Heritage Masonry & Brick is the option for homeowners who've done the measuring and monitoring and landed on "this needs a professional."

Our crews handle repointing, tuckpointing, brick and mortar repairs, structural stabilization, chimney work, and historic material matching across Richmond. Every project comes with a free estimate and a 5-year workmanship guarantee, so you're not gambling on whether the repair holds through the next freeze-thaw cycle. If your crack has crossed into red-flag territory, request an inspection for your brick repair and get a straight answer on scope, mortar type, and cost before any work begins.
Frequently Asked Questions
Can a hairline crack in brick get worse over time? Yes, if it's caused by ongoing settlement or moisture cycling. That's why installing a simple crack monitor before repairing matters. It tells you whether the crack is finished moving or still active.
What's the difference between repointing and tuckpointing? Repointing simply refers to replacing deteriorated mortar in a joint. Tuckpointing is a specific finishing technique that creates a thin, uniform line within the mortar for a cleaner look, often used on historic brickwork.
Is caulk enough to fix a crack in brick, or do I need mortar? Caulk works for true hairline cracks under 1/16 inch. Anything wider needs color-matched mortar packed to proper depth, since caulk lacks the structural bond and breathability of masonry mortar.
How do I know if a brick crack is a foundation problem? Stair-step cracks spanning multiple courses, cracks paired with sticking doors or windows, and any wall bulging are strong signs of foundation movement. That combination warrants a structural engineer's evaluation before any repair.
What temperature is too cold to repair brick cracks? Mortar generally needs to cure above roughly 40°F and stay below about 90°F during application. Repairing in freezing conditions risks the mortar cracking before it fully sets.
Sources
- How to Repair Broken Bricks - Fine Homebuilding
- How To Repair Cracks In Bricks Caused By Movement | 7 Easy Steps
- Concretecaptain
- Crack In Brick Wall Repair | Brick Wall Crack Repair Methods